Just because seniors weren’t born as digital natives doesn’t mean they should shy away from technology—and they don’t! Especially since COVID-19 lockdowns began, more seniors are turning to their computers to stay connected with friends and family and simplify their lives.
Today’s modern technology offers a wealth of opportunities. Whether staying social online, managing your bills and credit cards, or learning new skills with online education platforms, technology helps accomplish many things quickly and efficiently.
That said, a lack of understanding of common tech issues that inevitably arise can cause frustration and confusion when you are trying to navigate the web. Luckily, many common problems can be easily solved. Read on for a guide to some of the most common problems you’ve likely encountered and how to troubleshoot them, and gain more confidence and control as you take advantage of all your computer has to offer.
Table of Contents
- Why Seniors Are Slower to Adapt to an Ever-Changing Tech Landscape
- Common Tech Issues and How to Troubleshoot Them
- What to Look For When Shopping for Senior-Friendly Tech
- Additional Resources
Why Seniors Are Slower to Adapt to an Ever-Changing Tech Landscape
If you’re a senior, you weren’t born into a world where understanding the nuances of technology was as natural as learning how to walk or brush your teeth. And considering how often technology is advancing and changing, it can be overwhelming to try and keep up with every new product or software update that comes to market. There a number of reasons why adapting to the world of tech as a senior might be more slow-going:
Difficult to See the Benefit
After living through decades of your life without the help of technology, it’s likely that you just don’t see the benefit of using something you never needed in the past. If you didn’t need it after all those years, you might simply think, “Why would I need it now?” and dismiss the idea.
Lack of Support
It’s not uncommon to lack the support necessary to learn the complex, ever-changing features of today’s technology. Something that comes so naturally to younger generations can be difficult to teach, and it’s easy for those doing the teaching to quickly become impatient or exasperated trying to explain the fundamentals. Adapting to today’s technology without the proper level of support and instruction would make it more difficult for anyone.
Old Habits Die Hard
By the time you’ve reached your later years, your habits are deeply ingrained simply because you’ve been carrying them out for decades. It’s not unlikely that you may have used the same wired telephone for 40 years, have watched the same TV channels for as long as you can remember, and often still get your news from the newspaper or radio.
You might identify with an “If it ain’t broke, don’t fix it” mentality, and the idea of learning new, complex skills that don’t come naturally simply isn’t on your radar when you’re settling into your senior years. Adopting new habits is hard enough for anyone no matter what age you are—so you can imagine the extra barrier that exists by the time you’re in your 60s or 70s.
Common Tech Issues and How to Troubleshoot Them
Whether you’re tech-savvy or not, you can always anticipate some issues or malfunctions somewhere along the way if you own any sort of tech device. Read on for a roundup of some of the most common roadblocks you’ll likely encounter and how to troubleshoot them on your own.
Your Smartphone Battery Doesn’t Last
Battery problems are one of the most common frustrations among smartphone users. If you find that your phone battery dies too quickly after being charged, there are a few tweaks you can make that might be the solution to your drained battery.
The first one is simple: turn down your screen brightness. Your phone’s brightness settings are a common culprit for zapping your phone’s battery life, and if you have it kicked up all the way all the time, your phone is bound to die sooner than you’d like. To adjust the brightness on an iPhone, go to Settings, then choose Display & Brightness to adjust the brightness level. For Android users, swipe down from the top of the screen twice. The brightness slider will appear, which you can drag to adjust the brightness.
Another major battery drain is your phone’s location services. Most apps have your location monitored, even when you aren’t using the app. This uses a lot of your phone’s power when you have many apps running in the background. To adjust this on an iPhone, go to Settings, then choose Location Services. Choose the app whose location services you want to adjust, then select your preferred option. For Android users, go to Settings, then choose Apps & notifications. Choose the app you want to adjust, then choose Permissions. Here you can turn the Location option off.
Computer Won’t Start
The first step to take if your computer won’t start might seem obvious, but it’s still crucial—check your power source. Take a look at your computer’s power cord and confirm it’s securely plugged into both the computer and the power outlet. Next, assess that the outlet you’re using is working. You can test this by plugging something else into it, like your phone charger or a lamp.
If you’re using a power strip or surge protector, go ahead and remove this and try plugging your computer directly into the wall. If your computer successfully turns on after this step, you know the issue was just a faulty power strip that needs to be replaced.
If your computer still won’t start, it could mean the CMOS battery needs to be replaced. This is a simple fix, and a new battery shouldn’t cost you more than $10. You can follow these instructions to replace your CMOS battery, or take it to a Best Buy near you or a local computer shop to get some assistance.
If you’re working on a laptop, it might be time to replace your laptop charger—a very common reason for not being able to turn on your laptop is due to a charger that no longer works. Simply look up the correct charger model that works with your laptop and head to the store for a replacement.
Strange Noises
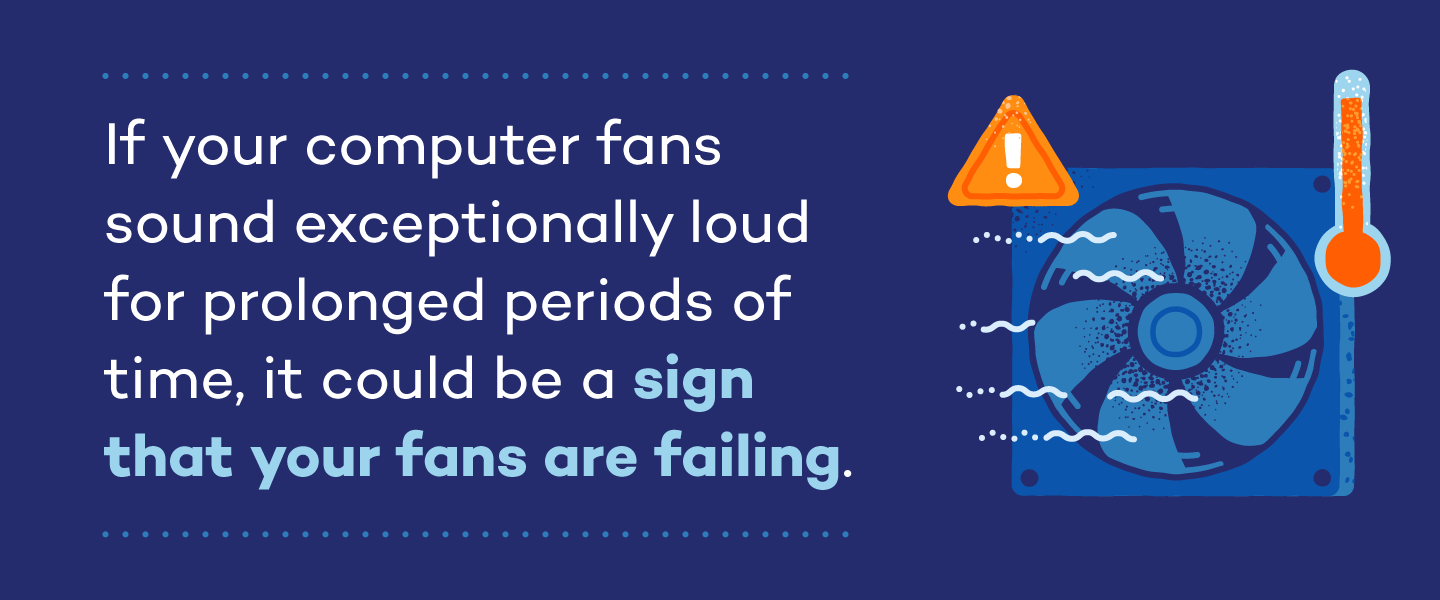
If you’re hearing loud or strange noises from your computer, it could be any number of issues that are causing it. One common problem is your computer fan, located in a Control Processing Unit (CPU.) The usual hum of your computer in the background is produced by the fans, which work to keep the temperature of your computer regulated and prevent it from overheating. If your fans sound exceptionally loud for prolonged periods of time, it could be a sign that your fans are failing.
To troubleshoot the issue, a good first step is to clean your fans. Make sure to unplug your computer before you begin. Then, remove the back cover from your computer and you’ll see the fan. An efficient way to get the cleaning job done is to use a can of compressed air to remove any dust and debris. If you want to be more thorough, you can use a cotton swab to clean each individual fan blade.
If you don’t think it’s your computer fans making the noise, or if you’ve completed the steps above to clean it, the next common culprit is your hard drive. Like your fans, it’s normal for your hard drive to emit a low humming noise. However, if what you’re hearing sounds more like repetitive clicking, knocking, or any significant “thump” sound, this could indicate a more serious issue that means it’s time to replace your hard drive. At this point, it’s best to get the help of an expert to diagnose the issue and replace the hard drive if that’s what’s causing the problem.
Blank Screen
The first step in addressing a blank computer screen is to ensure your monitor is turned on. If you’ve pressed the power button and aren’t seeing any power light at the front, you should next ensure that all cables are properly connected to your monitor. Verify that all cables plugged from your monitor to your computer are securely fitted, then also make sure your computer is properly connected to the wall outlet.
If you find that your monitor light is on but you’re still seeing a blank screen, it could be an issue with the data cable which connects your monitor to your computer. This cable is typically either a DVI or HDMI cable—purchase a new one and test it out to see if that solves the problem.
If your issue still isn’t resolved, you can try testing out another monitor on your computer (you might see if you have a friend whose monitor you can borrow.) If a different monitor works when connected to your computer, you know your original monitor needs to be replaced. It’s usually not worth having the faulty monitor serviced for repair—it will likely cost you more time and money than buying a new one will.
While the previous step suggests trying a different monitor on your computer, the last thing to try is trying your monitor on a different computer. Disconnect your monitor from your computer and plug it into a different one (again, it’s helpful to use a friend’s computer for this unless you have another one). If your monitor functions like normal after doing so, it means it’s time to replace your computer’s video card. You can have this done at a local computer store or Best Buy.
Keyboard Issues
As always, the first step is the simplest fix: make sure your keyboard is securely plugged in. It’s also a good idea to disconnect the keyboard from your computer and reconnect it back into the same port. If you’re using a wireless keyboard, make sure the power switch is turned on and that the batteries don’t need to be replaced or charged.
Next, give your keyboard a good cleaning. Dust and debris can collect beneath the keys and hinder them from properly functioning. Compressed air is the best way to tackle this. Pick up a can from your local office supply store or grocery store and keep it handy to keep your keyboard clean and free of dust that could be hindering its performance.
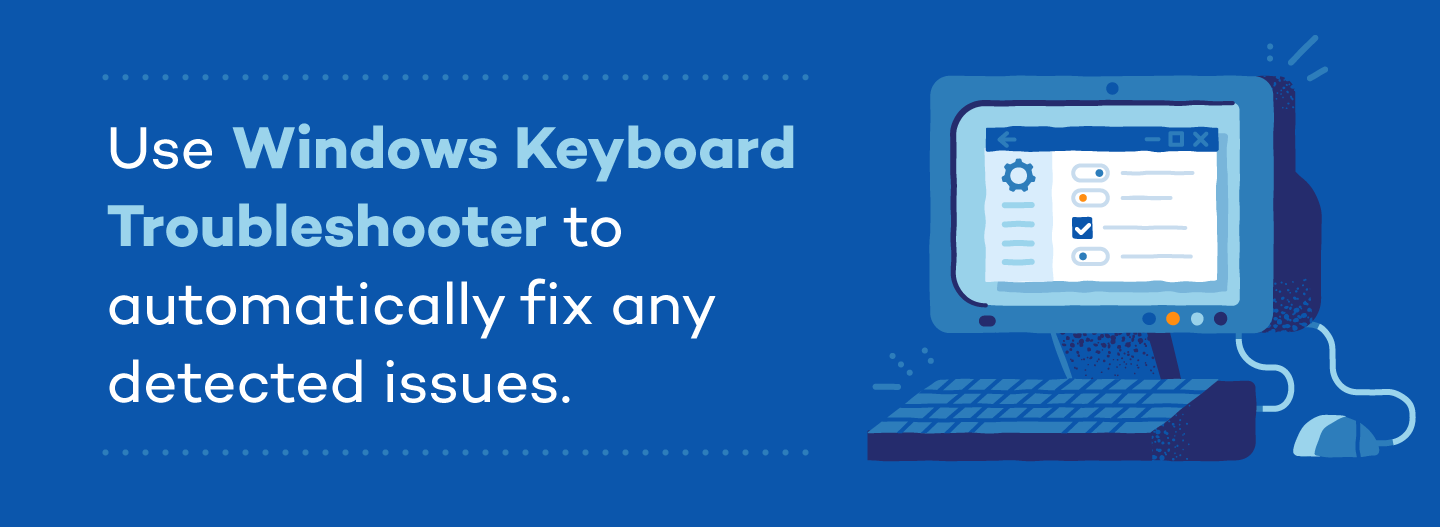
If cleaning your keyboard didn’t solve the problem, Windows has a handy function specifically for tackling keyboard errors that will automatically fix any detected issues. Here’s how to run it:
- Click the Windows icon in the taskbar at the bottom of your screen, then click Settings.
- In the search bar, type “Fix keyboard”, then click Find and fix keyboard problems.
- Click Next to initiate the troubleshooter and let Windows scan for issues.
- If any issues are detected, follow the on-screen instructions to let Windows perform an automatic fix.
If that doesn’t work, one last action you can take is to update your keyboard driver. Here’s how:
- Click the Windows icon in the taskbar at the bottom of your screen, then click Settings.
- Navigate to System > About, then scroll down and click Device Manager.
- Select Keyboards from the categories menu.
- Right-click on your keyboard listed and click Update Driver.
- Allow Windows to find the newest driver and continue with any on-screen instructions that follow.
For Mac users, resetting your Mac’s System Management Controller (SMC) is your best bet for handling a faulty keyboard. It’s relatively easy to do:
- Press and hold the Control, Option, and Shift keys, then press and hold the power button for ten seconds.
- Release the keys and power button, then press the power button once more to turn on the computer. Your SMC is now reset.
If none of these tactics correct your keyboard issues, you’ll likely need to contact a qualified professional for further assistance.
Sound Not Working
If you’re playing a song or watching a video on your computer and aren’t hearing any sound, first check the individual program settings you’re trying to play sound from. Many software programs, games, or videos on YouTube have their own sound settings separate from your computer’s main sound settings. Look for a speaker icon or volume settings in the menu bar of the program you’re using and check to see if the sound is muted or turned off. If you find that it is, this is the simplest fix for a sound issue. Unmuting the sound or increasing the volume often fixes the problem.
If that didn’t work, Windows users can use the Windows Audio Troubleshooter to detect and resolve any issues. Here’s how:
- Search “audio troubleshooter” in the Windows search box.
- Select Find and fix audio playback problems.
- Follow the on-screen instructions in the troubleshooting menu that appears.
If your sound still isn’t working, the next step (if using Windows) is to update your computer drivers. Here’s how to do it:
- Open Settings, then choose Update & Security.
- Click on Windows Update.
- Choose the Check for updates button, if available.
- Click the View optional updates option, then click the Driver Updates tab.
- Select the drive you want to update, then click Download and install.
- Note: if the View optional updates link isn’t available after checking for updates, then your drivers are already up to date.
Here’s how to troubleshoot the same issue for Mac users:
- In the Apple menu in the top left corner of your screen, choose System Preferences.
- Click Sound.
- Click the Output tab, then select the built-in speakers. If you don’t see the built-in speakers as an option, you should contact Apple support.
- Make sure the Output volume slider isn’t set to low—if it is, slide it to the right and test your speakers for sound.
- Make sure the Mute checkbox isn’t selected—if it is, deselect it and test your speakers for sound.
If none of these solutions solve the issue, you’ll likely need to contact a qualified professional to diagnose the problem further.
Frozen Computer
Dealing with a frozen computer is arguably one of the most annoying problems to deal with, but the fix is usually pretty simple. We’ll outline how to troubleshoot this issue for both Windows and Mac, starting with trying to close down the specific program that’s freezing. This could be your internet browser or a different program you’re working in. Whether you’re using Windows or a Mac, the solution is to restart the program or your computer entirely.
If you’re using Windows, start by hitting Ctrl+Alt+Delete (the Control, Alt, and Delete keys) simultaneously on your keyboard and select Start Task Manager from the menu that appears. Ideally, Task Manager will show a message that says it’s found an unresponsive application in the list of currently running programs. In the Processes tab, choose the unresponsive program and click End Task. If that doesn’t resolve the issue, hit Ctrl+Alt+Delete once more and hit the Power icon in the bottom-right corner of the screen. Then, choose Restart from the pop-up menu to restart your computer.
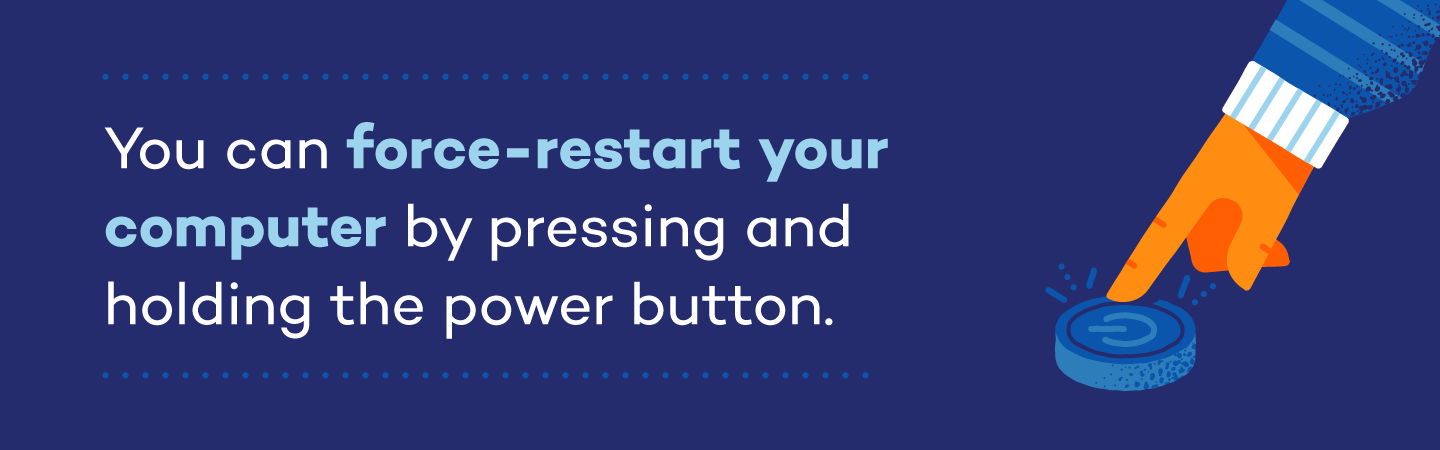
If that doesn’t work, you can force-restart the computer by pressing and holding the power button. If this brings up the Turn Off the Computer menu, choose Restart. If no menu appears, just keep holding down the power button until the computer shuts off on its own. Wait a minute, then turn the computer back on. After working through these steps, your computer should reboot and come back working properly.
To complete the same process on a Mac, click the name of the program you’re in (for example, Safari) in the menu bar at the top of your screen. Click Quit at the bottom of the menu. Additionally, you could force-quit the program by choosing Force Quit in the apple menu in the upper-left corner of your screen. If this doesn’t quit the program and resolve the issue, initiate a force restart by hitting Ctrl+Command+Eject (the Control, Command and Eject keys) simultaneously. If it still won’t restart, press and hold the power button until the computer shuts off. Wait a few moments before turning it back on, and the issue should be resolved.
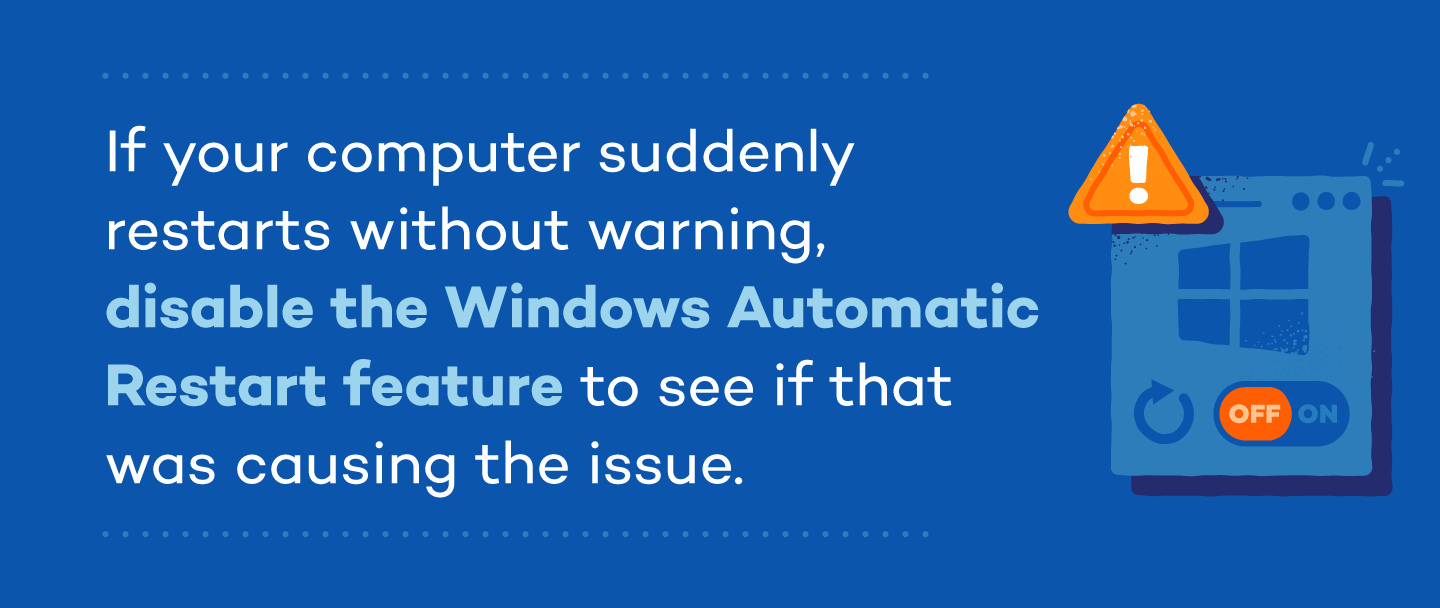
Computer Suddenly Restarts
If your computer restarts without warning, there are various steps you can take to resolve the issue. We’ll go into the steps for Windows users and Mac users, as the process is different depending on which system you use.
Windows users: Windows has a feature called Automatic Restart, in which case your computer will restart without any warning or error message. Disabling this feature will help you determine if it’s the cause of the issue, or if it’s something else entirely. To disable Automatic Restart, follow these steps:
- Right-click This PC on your computer, then click Properties.
- Click Advanced System Settings in the pop-up menu that appears.
- In the Advanced tab, find the Startup and Recovery section and click Settings.
- Uncheck Automatically Restart under System Failure, then click OK.
If your computer still suddenly restarts after disabling this feature, you’ll need to troubleshoot further. It could be an issue with your Graphics Driver, which is the software that connects to your computer’s graphics hardware. If it’s out of date, it can cause weird behavior from your computer. Here’s how to reinstall your Graphics Driver:
- Right-click on the Start button, then click Device Manager.
- Right-click Display Adapters, then click Uninstall.
- In the Confirm Device Uninstall window, check Delete the driver software for this device, then click OK.
- Restart your computer.
After working through these steps and restarting your computer, an updated Graphics Driver will be installed automatically.
Mac users: Sudden restarts might be caused by either a software issue or a hardware issue. The first thing to do is to make sure you’ve installed all available software updates. To do this, click the Apple menu in the top left corner of your computer and choose System Preferences. Click Software Update to view any available updates you may have. If there are, click Update Now to install them.
If your computer continues to suddenly restart, you’ll want to ensure your internal PRAM is working properly. PRAM is a memory storage system that’s integral to the proper functioning of your computer’s hardware. Resetting this will reset your Mac’s hardware settings and might fix the problem. To reset the PRAM, simply press and hold the option+command+P+R keys simultaneously for 20 seconds.
If none of these solutions work, you’ll likely need to take your computer to a qualified technician to diagnose the issue.
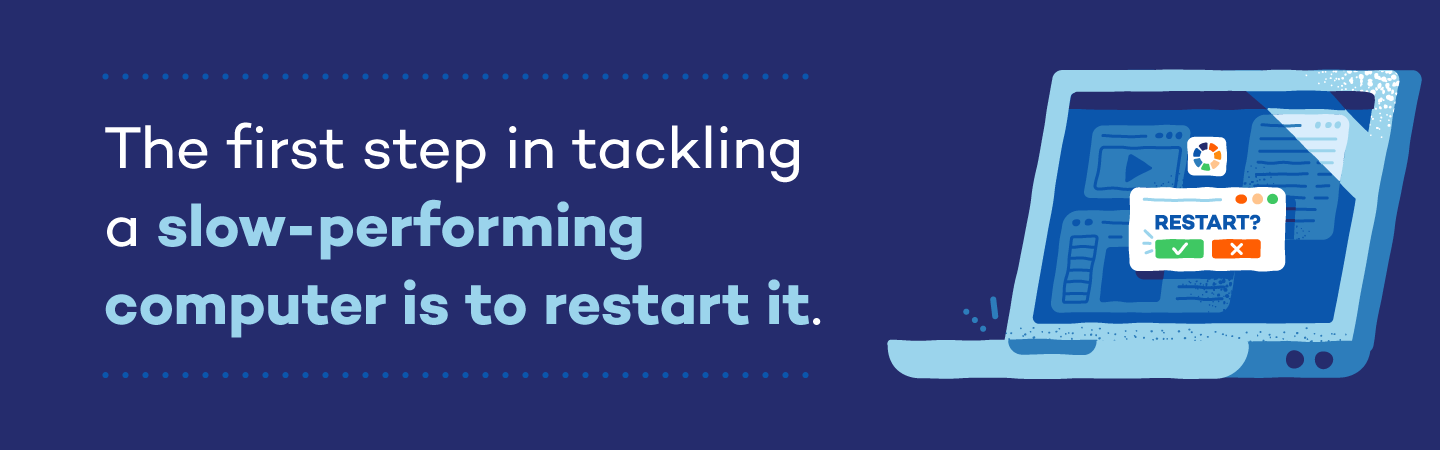
Slow Performance
There are numerous potential causes for a computer that’s running slowly, and the first place to start is restarting your computer. For Windows users, you can open the Start menu in the lower-left corner of the screen, then click Power, then select Restart. For Mac users, click the Apple menu in the top left corner of your screen, then choose Restart.
A common culprit of a slow computer is an overloaded hard drive. One way to remedy this is by deleting temporary and cached files that get stored by default as your computer runs programs. Here’s how to do it:
Windows users:
- Open the Start menu and type “%temp%” in the Search field box. Hit Enter.
- The Temp folder should open.
- Delete all files found in this folder. If any files are in use or can’t be deleted, you can skip them.
Mac users:
- Minimize or close any open tabs, then click Go in the bar at the top of your desktop.
- Click Go to Folder and type “~/Library/Caches” in the search box. Click Go.
- A new window will open showing all of your Mac’s temporary or cached files.
- Click Edit in the toolbar at the top of your screen. Then, choose Select All.
- Under the File tab in the toolbar, choose Move to Trash. Enter your password to complete the action.
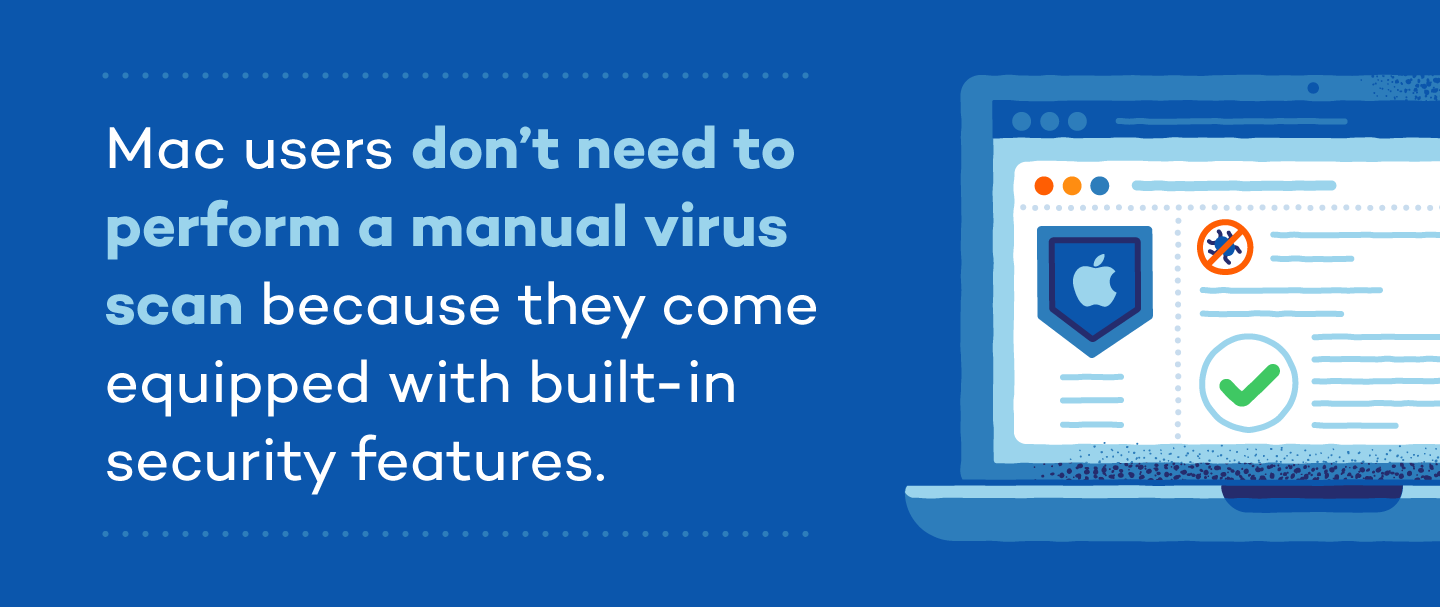
The last thing you should do is check your computer for any viruses, which can certainly cause your computer to run slower than normal. Here’s how to do it:
Windows users:
- Open the Start menu and type Security in the search box, then click Open Windows Security.
- Click Virus & threat protection, then choose Quick Scan. Your computer will be scanned for viruses and if any are found, you’ll have the option to have it automatically removed.
Mac users: You don’t need to perform a manual virus scan because Macs are created with built-in security features and defenses to protect you from them.
Lastly, you can always download Panda Security’s free antivirus software to keep your computer safe from malware. It’s also a good idea to educate yourself on common internet scams.
Slow or Frozen Application
When a single application becomes stuck or frozen, you’re unable to close out of the application like you normally would. Instead, you’ll need to force quit it. To do this with Windows, press and hold Ctrl+Alt+Delete (the Control, Alt, and Delete keys) to open the Task Manager. From there, select the unresponsive application and click End task to close out of it.
On a Mac, simply find the application icon in your Doc at the bottom of the screen, then click and hold it. Select Force Quit from the menu that appears to close the application.
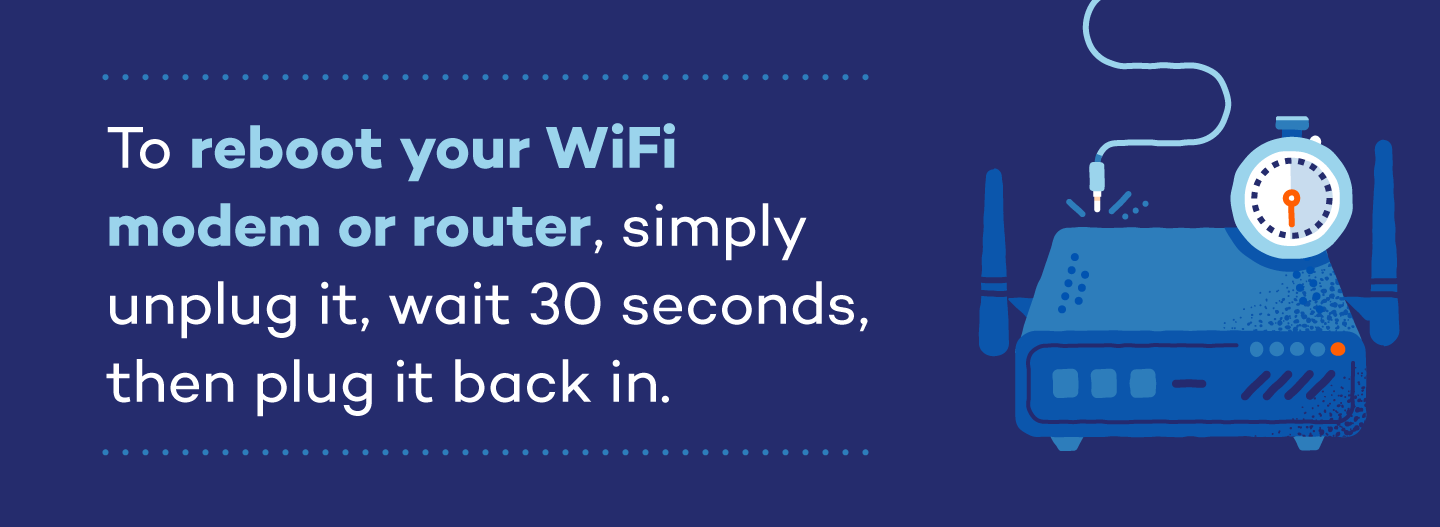
No WiFi or Internet
There are a number of reasons why your WiFi connection may stop working. Regardless of what’s causing the problem, the first step to take is rebooting your modem and/or router (you may have a combined modem/router unit, in which case you’ll just need to reboot this single piece of hardware).
All you need to do is unplug your modem and router from their power outlets, wait thirty seconds, then plug them back in. It might take a few minutes for your modem/router to reconnect—if you find that it doesn’t successfully reconnect and bring your internet connection back on after rebooting, the next step is to reset your modem and router completely.
Resetting your modem/router restores the devices to their original factory settings, and will require you to go through the initial set up steps you took when you first had your WiFi installed. Simply look for the reset button on your modem/router and hold it down to reset. Many routers have a small reset button that must be pushed with a paperclip or other small object. Make sure you have your WiFi password on hand since you’ll need to re-enter it after a reset.
If you’ve walked through these steps and your WiFi still won’t connect, you’ll need to call your Internet service provider and have them assess the problem. It’s likely an issue on their end that you can’t fix on your own, and they’ll be able to walk you through any more troubleshooting steps or inform you of any additional problems detected. Below are the phone numbers of some common Internet service providers so you can locate yours and give them a call.
- AT&T Internet tech support: (800) 288-2020
- Cable ONE tech support: (877) 692-2253
- CenturyLink tech support: (888) 723-8010
- Charter Spectrum tech support: (855) 757-7328
- Cox Cable tech support: (800) 234-3993
- Frontier Communications tech support: (888) 884-0504
- HughesNet Satellite Internet tech support: (866) 347-3292
- Mediacom Cable tech support: (800) 883-0145
- RCN tech support: (800) 746-4726
- Rise Broadband tech support: (877) 910-6207
- Suddenlink Communications tech support: (877) 794-2724
- TDS Telecom tech support: (866) 571-6662
- Verizon Fios tech support: (800) 837-4966
- Verizon High Speed Internet tech support: (800) 837-4966
- Viasat Internet (formerly Exede) tech support: (855) 463-9333
- Wi-Power tech support: (877) 877-6861
- Windstream tech support: (800) 347-1991
- WOW! tech support: (855) 496-9929
- XFINITY tech support: (800) 934-6489
What to Look For When Shopping for Senior-Friendly Tech
There are a number of features to look for when shopping for tech devices that adequately support your lifestyle as a senior.
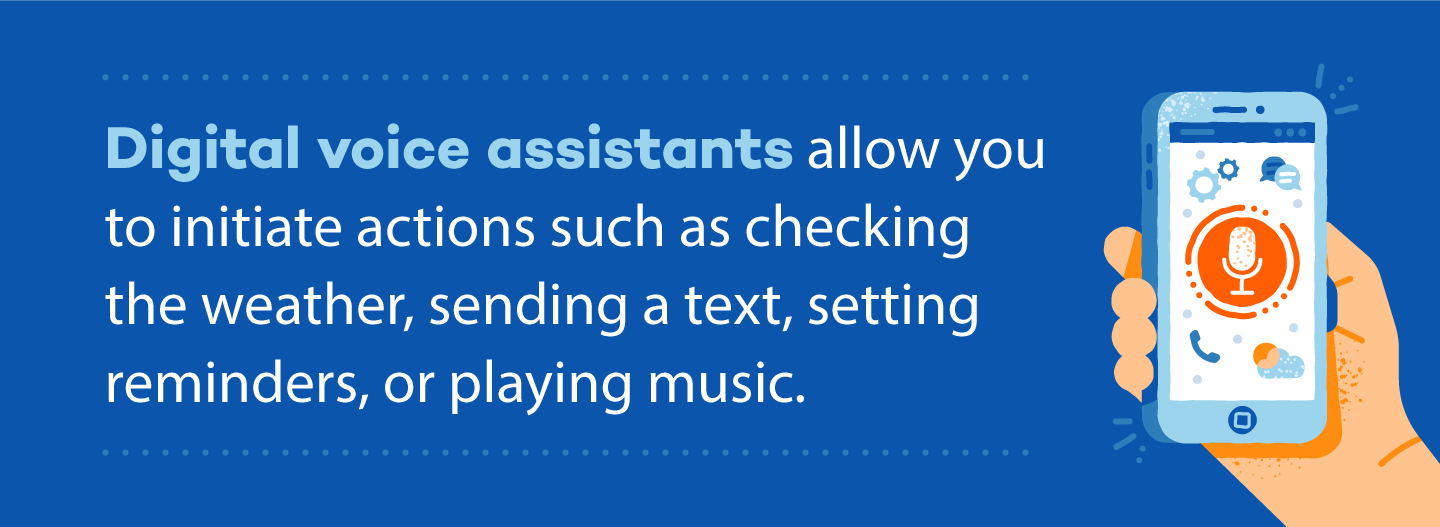
Voice Assistants
Voice assistance features in tech devices are rapidly gaining popularity, and with good reason: they’re an easy, efficient way to get things done on your device without having to physically navigate with your fingers. This is especially helpful if you aren’t as used to small touch screens and have more trouble viewing small text on screens. These digital voice assistants allow you to initiate actions on your phone or smart home speaker such as checking the weather, sending a text, setting reminders, or playing music.
Tablets and E-Readers
Tablets, such as iPads, or e-readers like the Amazon Kindle are great options if you’re looking to take advantage of today’s technology without the fuss and complexity of an entire computer setup. They have almost all the same features as a computer and don’t require a keyboard or mouse (unless you want it to—you can buy these separately and hook them up to your tablet). Tablets are a great way to utilize all the internet has to offer in a simple, handheld way. Plus, many seniors enjoy the games available on such devices as a way to stimulate their minds and stay mentally active.
Reminder Functions
Even if your physical health is in good shape, you may not have as sharp of a memory as you once did. It can be helpful to shop for devices that have reminder features or for tech items exclusively designed as a reminder tool. Companies like Reminder Rosie turned a classic alarm clock into a device that supports the common needs of seniors, with the ability to set reminders of specific action items at specific times. Additionally, medication technology such as MedMinder can help you stay on top of your medication schedules.
With a little patience and the right support, you can learn to navigate the nuances of today’s world of tech and utilize it to its full potential. To learn more about how to stay protected online, look to Panda Security for specialized digital security products and antivirus software.
Additional Resources for Seniors
There are a variety of resources available to sharpen your skills and further your knowledge when it comes to utilizing today’s technology. Below are some additional resources you can look into to further support your tech:
- OATS (Older Adults Technology Services) offers free computer classes and technology support for people over age 60.
- Senior Planet, a program by OATS, shares tons of helpful resources on their website. They offer additional opportunities through their membership program.
- AARP offers webinars and resources on their website including topics such as online safety, fraud protection, social media basics, and phone and tablet education. You can also access past lessons in their learning library section.
- SeniorNet is an online community that supports technology education among older adults. They provide online training, access to tools, and local community programs to help seniors learn and connect with each other.